
We have been looking for a new credenza/media stand for a while now. The one we had before this was the one we bought 3 years ago when we first got married. It was the cheapest thing we could find since the only money we had was what people had given us for our wedding. It did its duty and served us well. But we’ve grown up since then.
We searched high and low, never finding anything that was really what we wanted or fit our needs. I wasn’t willing to fork over the grown up price unless it was exactly what we wanted. Long story short, we never found anything. And in the Bartlett house if you can’t find what you’re looking for, you make it yourself.
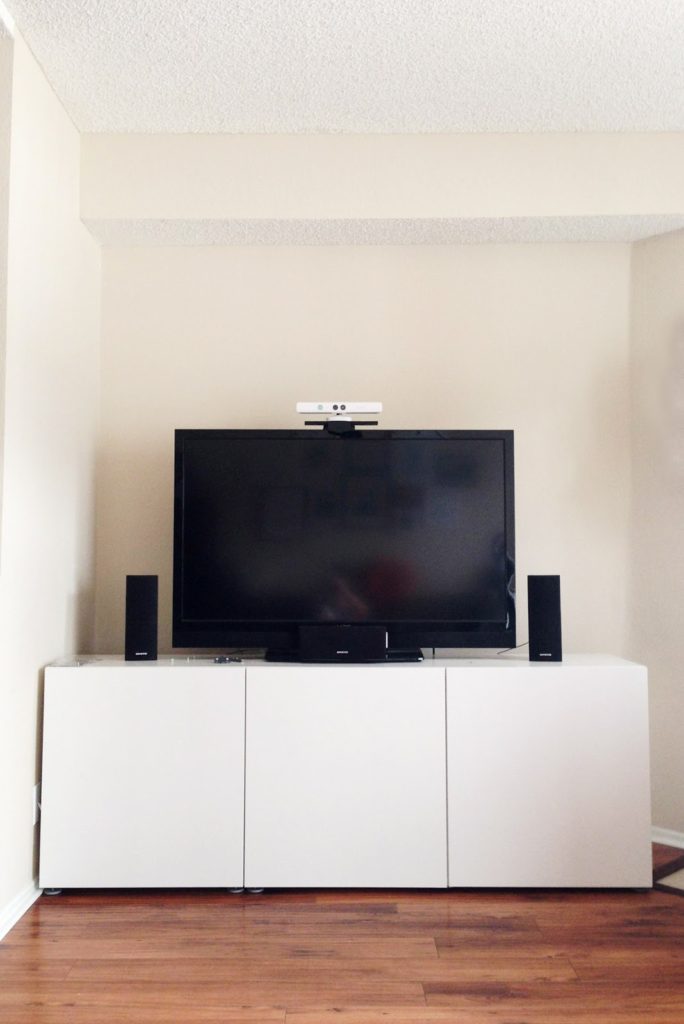
I came across two brilliant projects at The Brick House & House*Tweaking and it set our DIY wheels turning. Both of those projects used Ikea kitchen cabinets but those were too shallow for our needs. So we searched Ikea for a different option and found their BESTÅ line. It was perfect! Exactly what we wanted. Can I just say Ikea never fails me? Thanks Ikea.
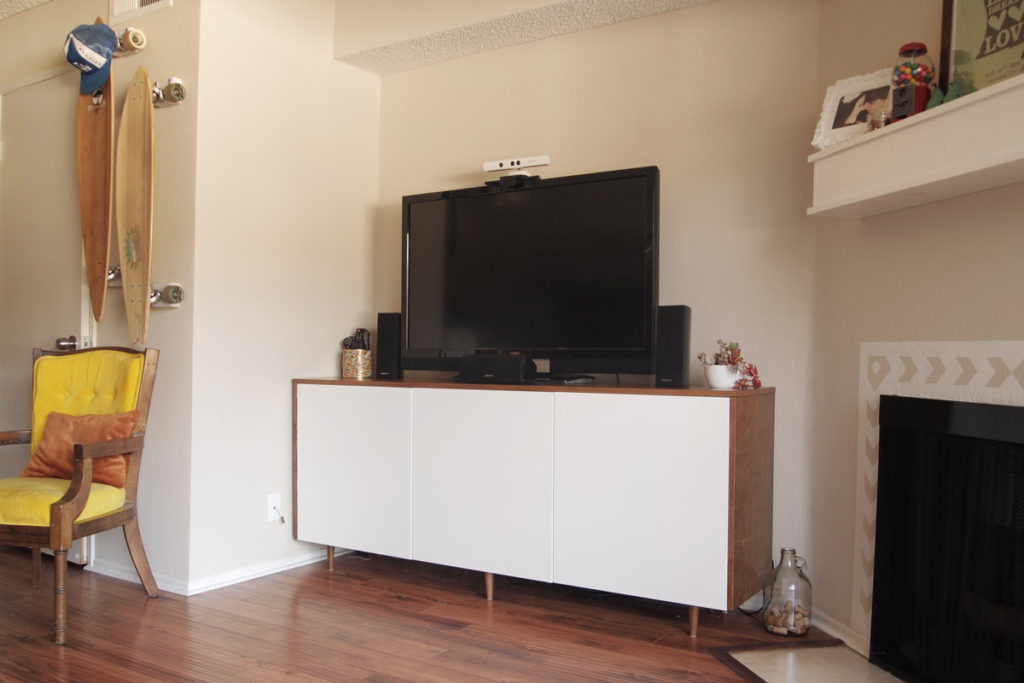
Instead of having a floating unit, we decided to attach legs that matched the one on our mid-century modern coffee table we made earlier this year.
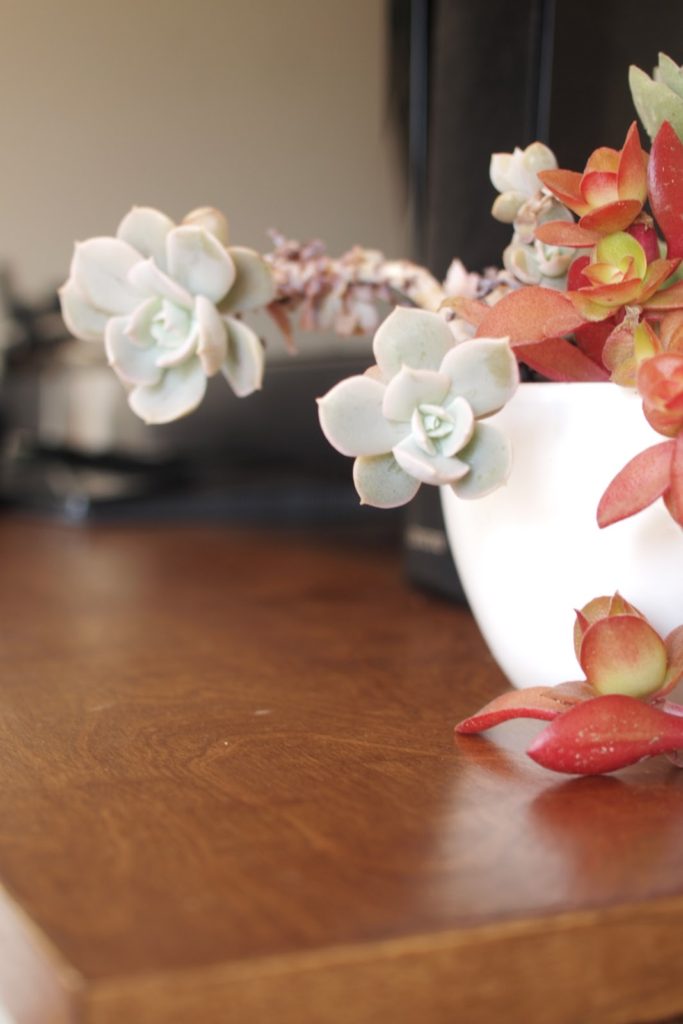
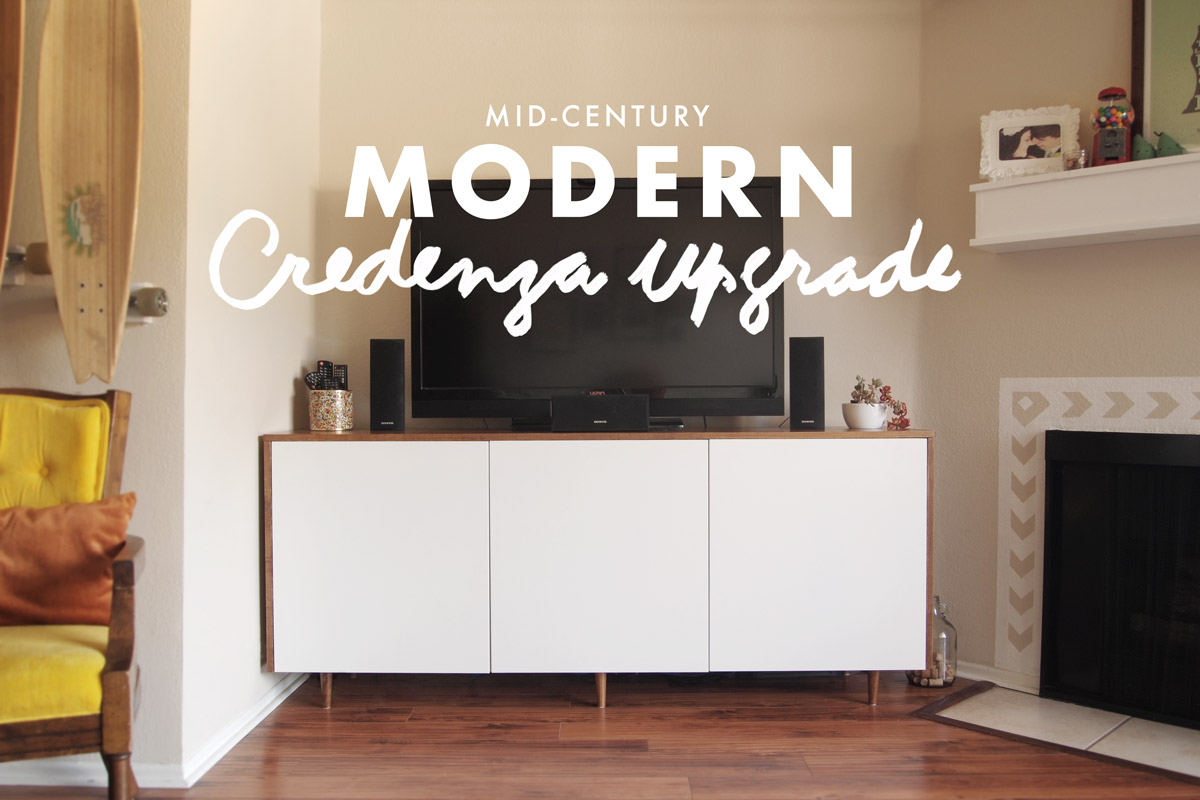
It turned out exactly how we wanted. Those clean lines are just dreamy. I could stare at this beauty all day. Ok ok enough with my credenza love story. Here is how you can make one too. You know you want to!
You will need:
- 1 double and 1 single BESTÅ shelf unit with doors
- 6 – 6″ round tapered legs cut off at the metal foot
- 6 – Straight Top Plates
- 3/4″ Birch Plywood Top: 72 3/8″ x 16 3/8″, Sides(x2): 25 1/8 x 16 3/8
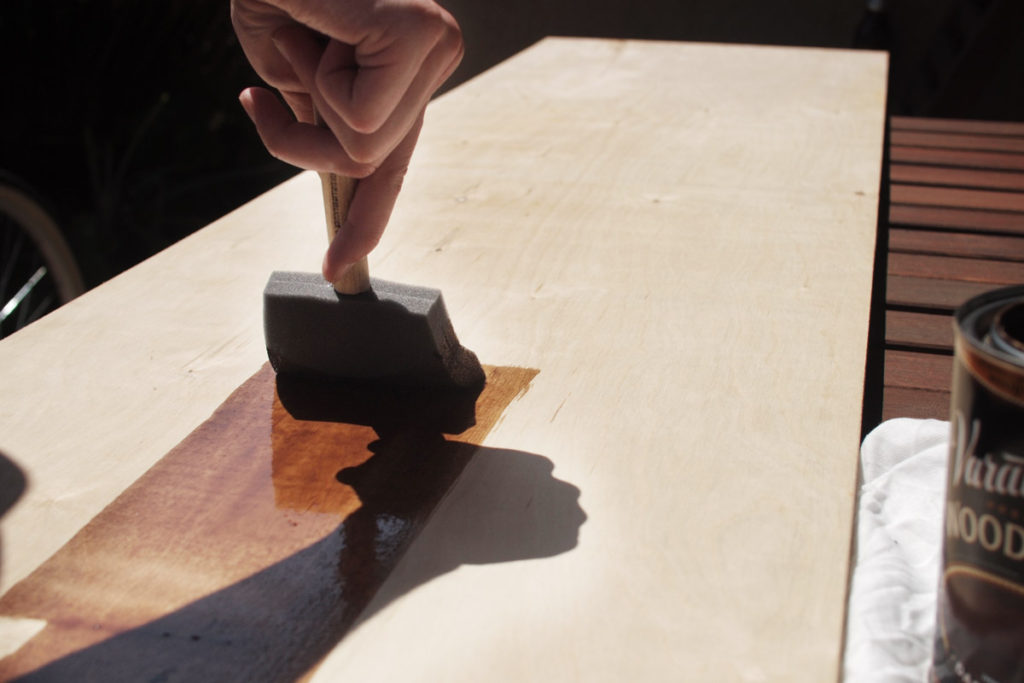
- Choice of Stain (we used Varathane Dark Walnut Wood Stain)
- Foam Brushes
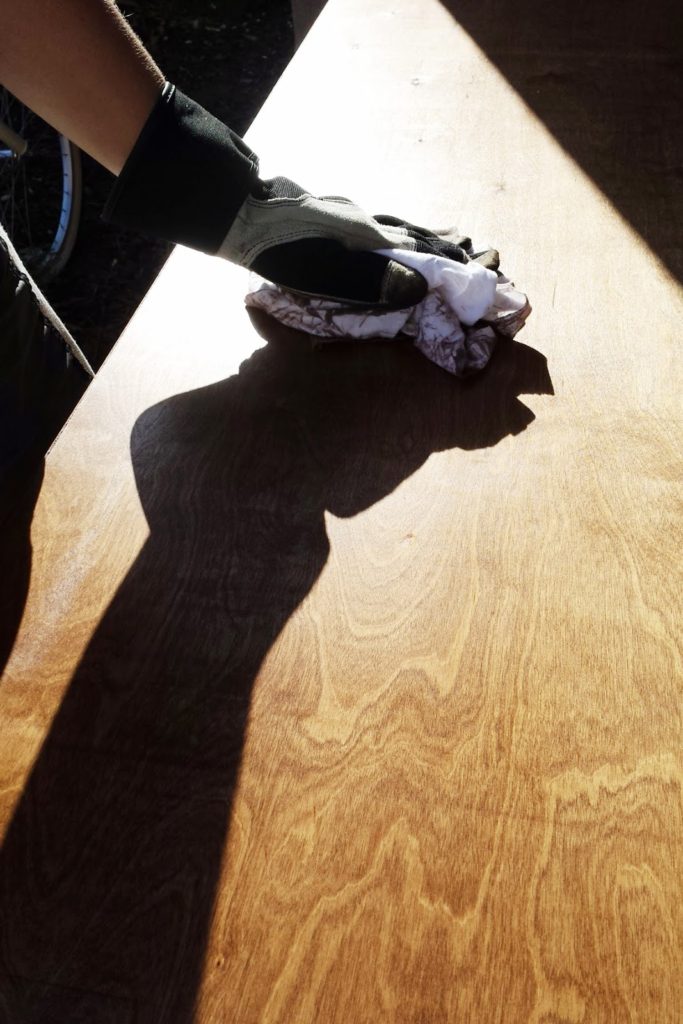
- Rags
- Satin Polyurethane
- Birch Veneer Edging
- Iron
- Mending Braces
- 1 5/8″ Self Drilling Screws
- 1 1/4″ Self Drilling Screws
- Sander
- 220 sandpaper for sander
- Saw (we had the hardware store cut our plywood and we cut the legs with a sawzall)
STEP 1: Put together your Ikea BESTÅ shelf units and attach the separate pieces as directed.
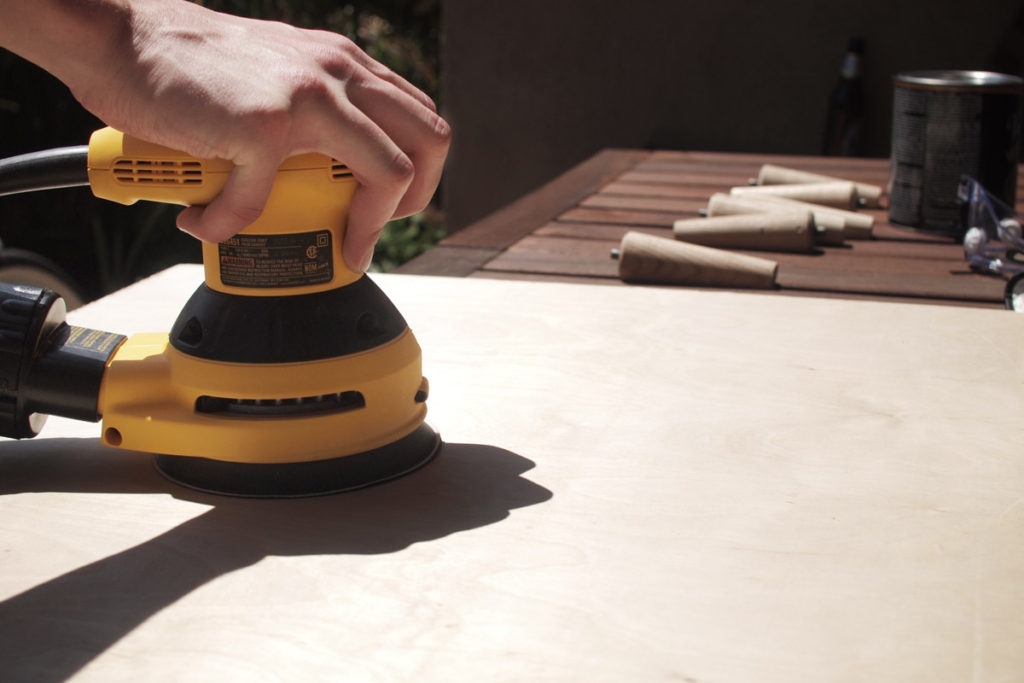
STEP 2: Lightly sand any spots that might have gotten roughed up in the cutting process.
STEP 3: Iron on the veneer edging. You don’t need to do all the edges just the ones that will show in the front when put together. The top edge of the side pieces will be covered by the top piece of plywood.
STEP 3: Wipe any dust off the boards and begin staining with a foam brush and then wiping off with the rags. Repeat staining process until you get the color you want. We had to give ours three coats. Make sure to follow coat directions and drying times printed on the product you buy.
STEP 4: With a foam brush apply polyurethane, lightly sand with 220 sandpaper in between coats. We applied three coats. Make sure to follow coat directions and drying times printed on the product you buy.
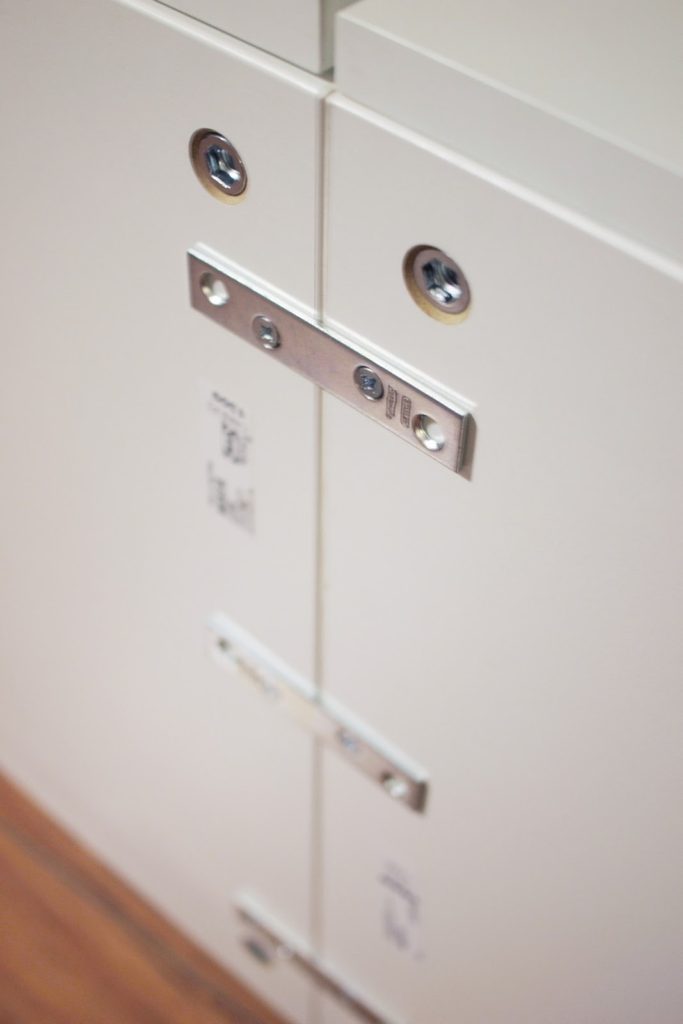
STEP 5: Attach top plates for the legs on the bottom of the cabinet. We also attached three brackets where the two separate units go together for added support (see picture above). Screw in legs and stand up the cabinet.
STEP 6: Center top plywood on top of cabinet and screw on from the inside of the cabinet with the longer (1 5/8″) self drilling screws.
STEP 7: Next attach both sides of the cabinet with the shorter (1 1/4″) screws. DO NOT use the same screws as you did for the top. They will go all the way through your plywood. We almost made that mistake but thankfully Jake realized it before it was too late.
STEP 8: Fill it up will all your movies, games, records, and anything else you want. It can hold A LOT so don’t be shy.